SPRING BEAR
SPRING TURKEY
WHITETAIL
ARK Frame
Day Packs
Multi-Day Packs
Expedition Packs
Pack Accessories
Duffel Bags
View All
Pack Replacement Parts
Fanny
Accessories
Bino Harness
Field Quiver
Game Bags
Steelhead
All Hunting Apparel
Base Layer
Wind Jacket
Insulation
All Logowear
Shirts / Hoodies
Hats
Woobie / Doobie
Sleeping Bags
Compression Sacks
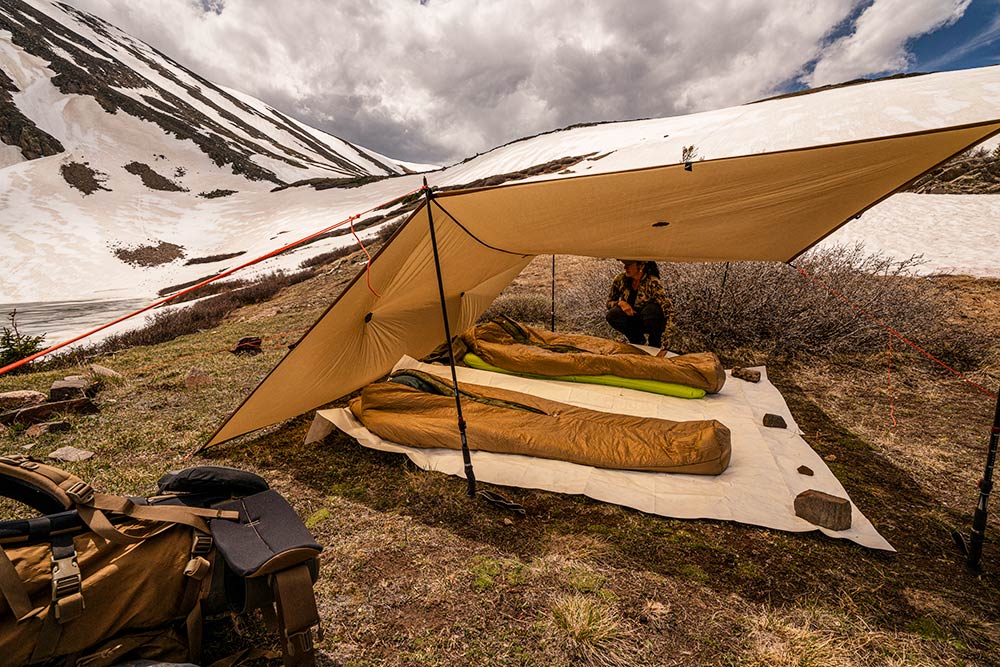
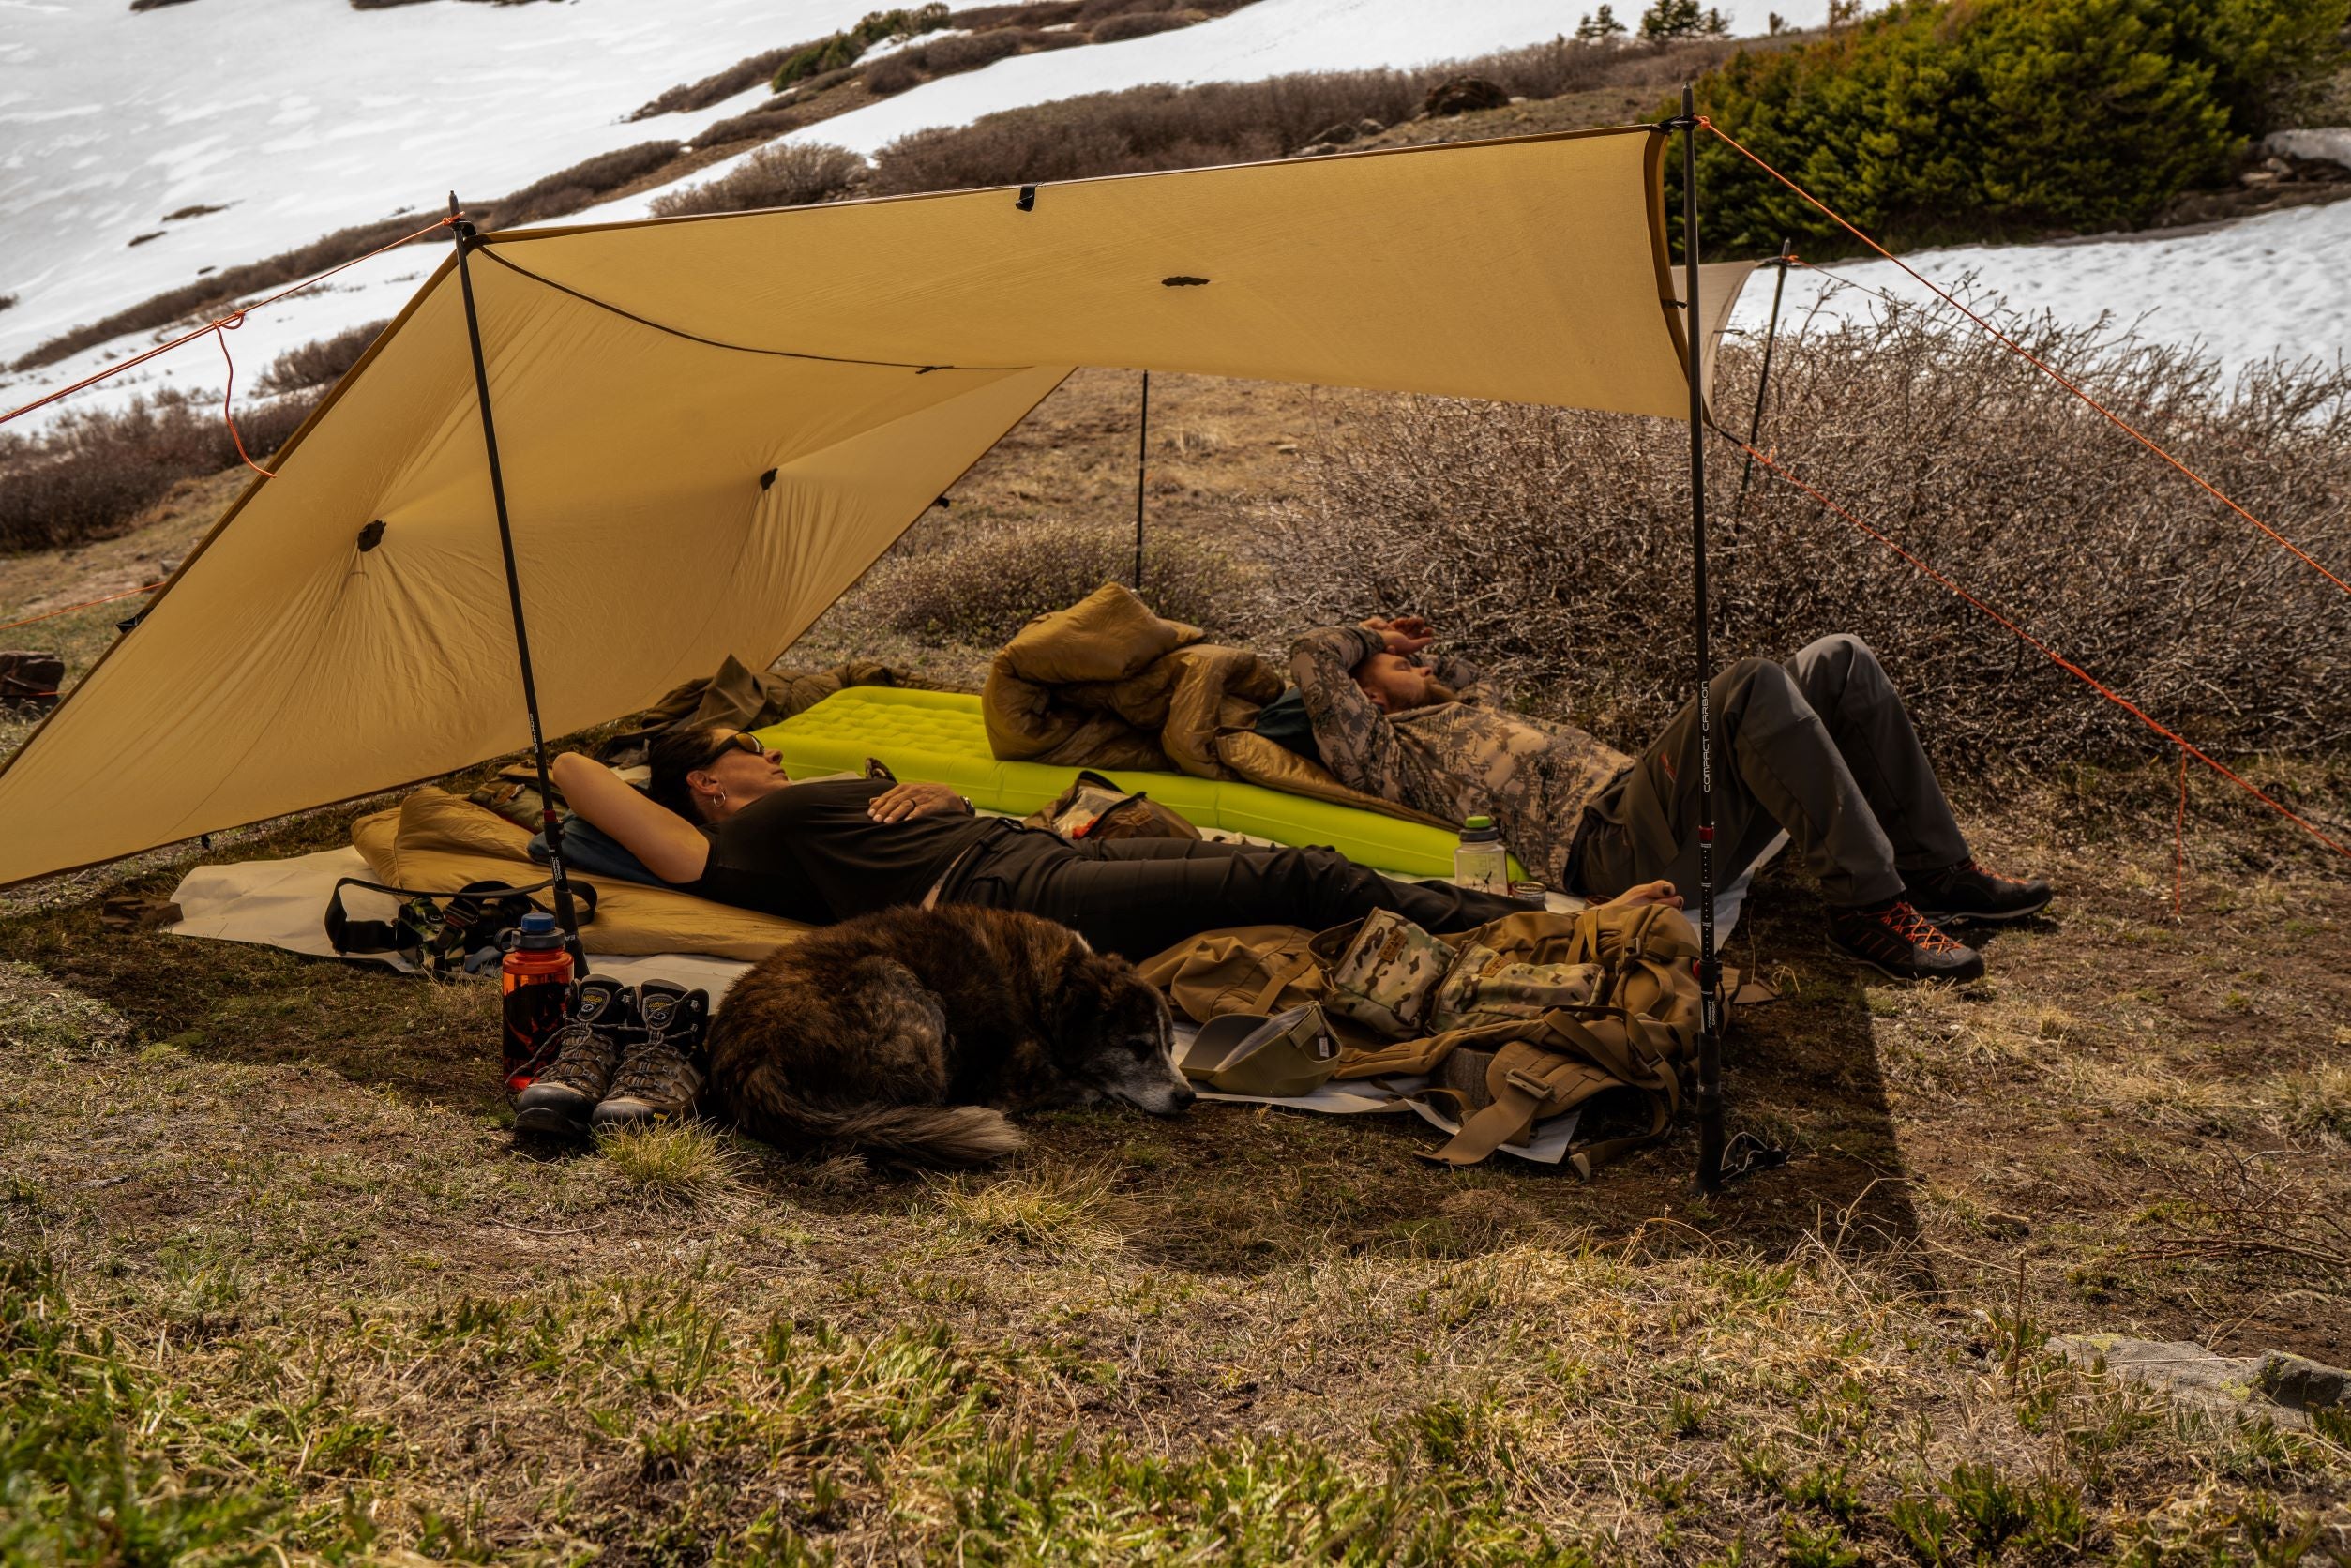
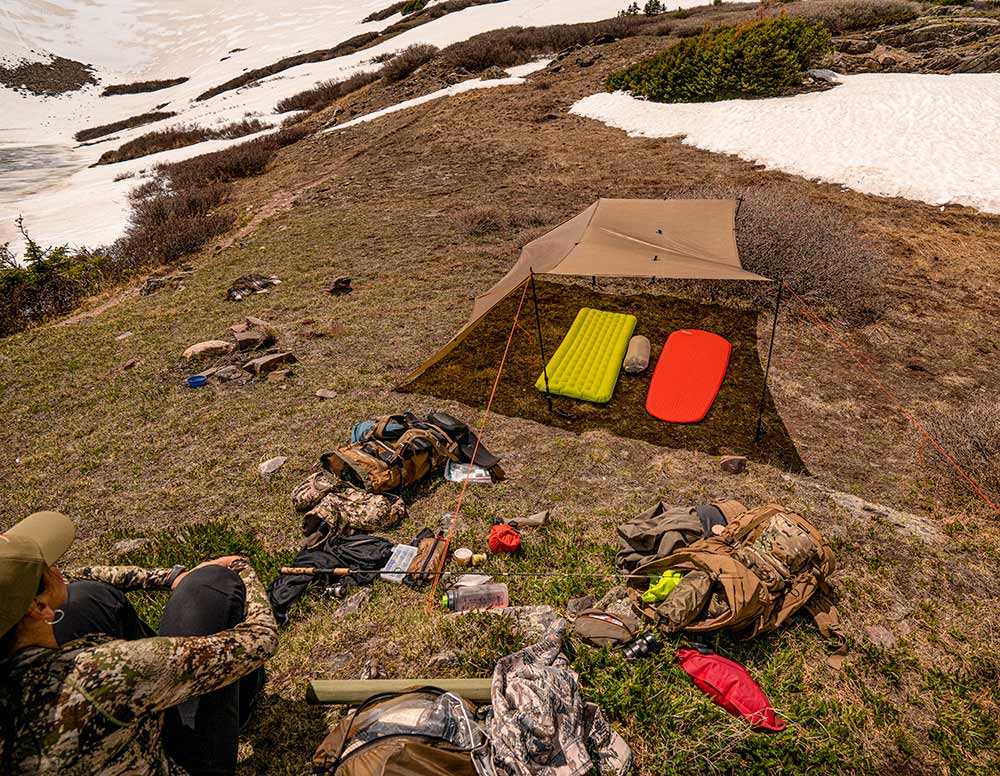
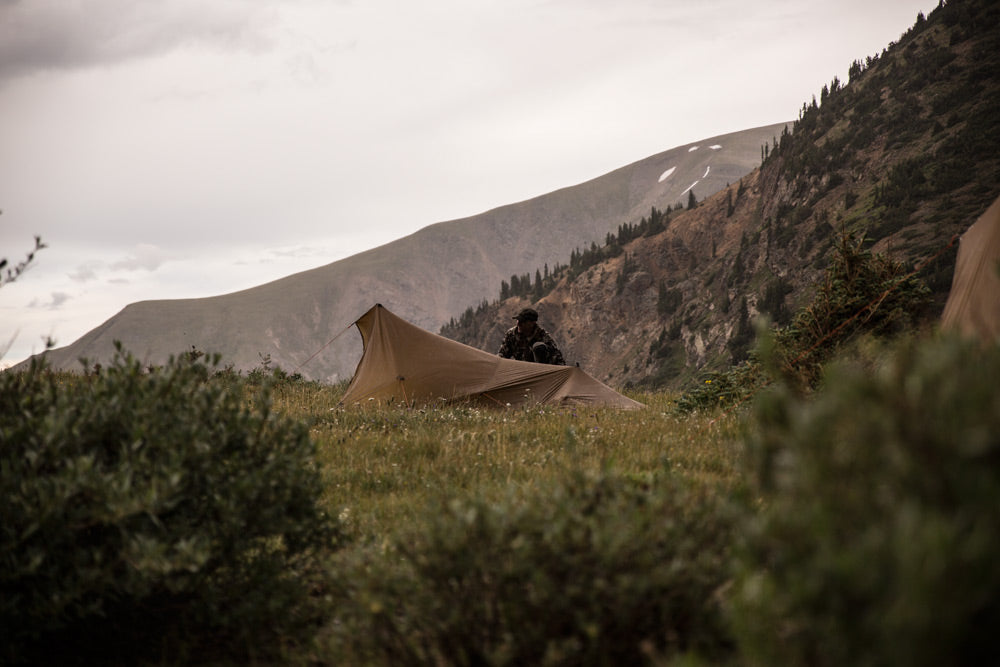
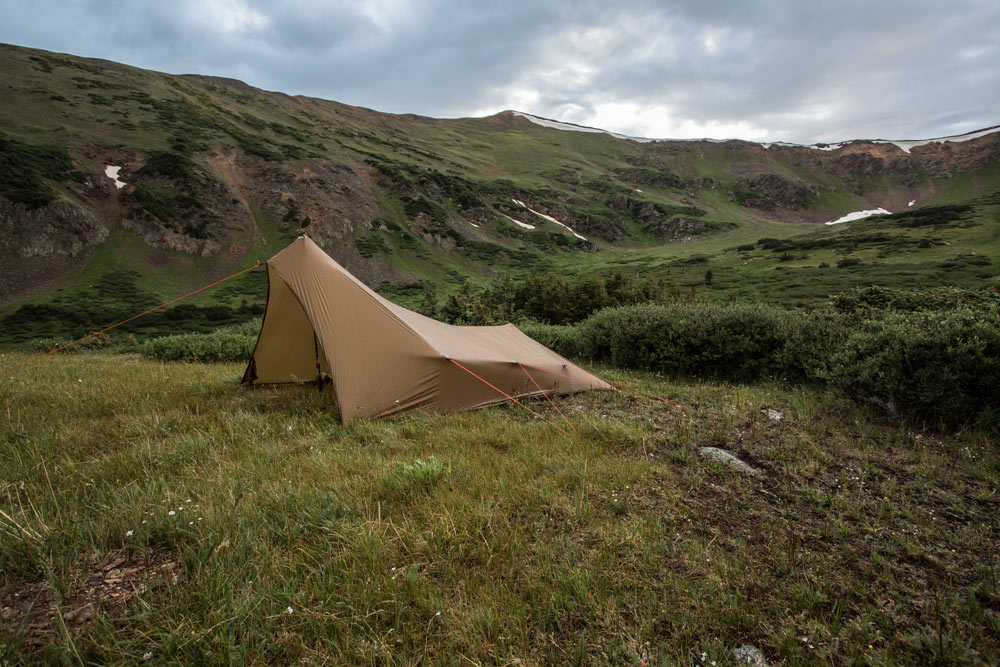
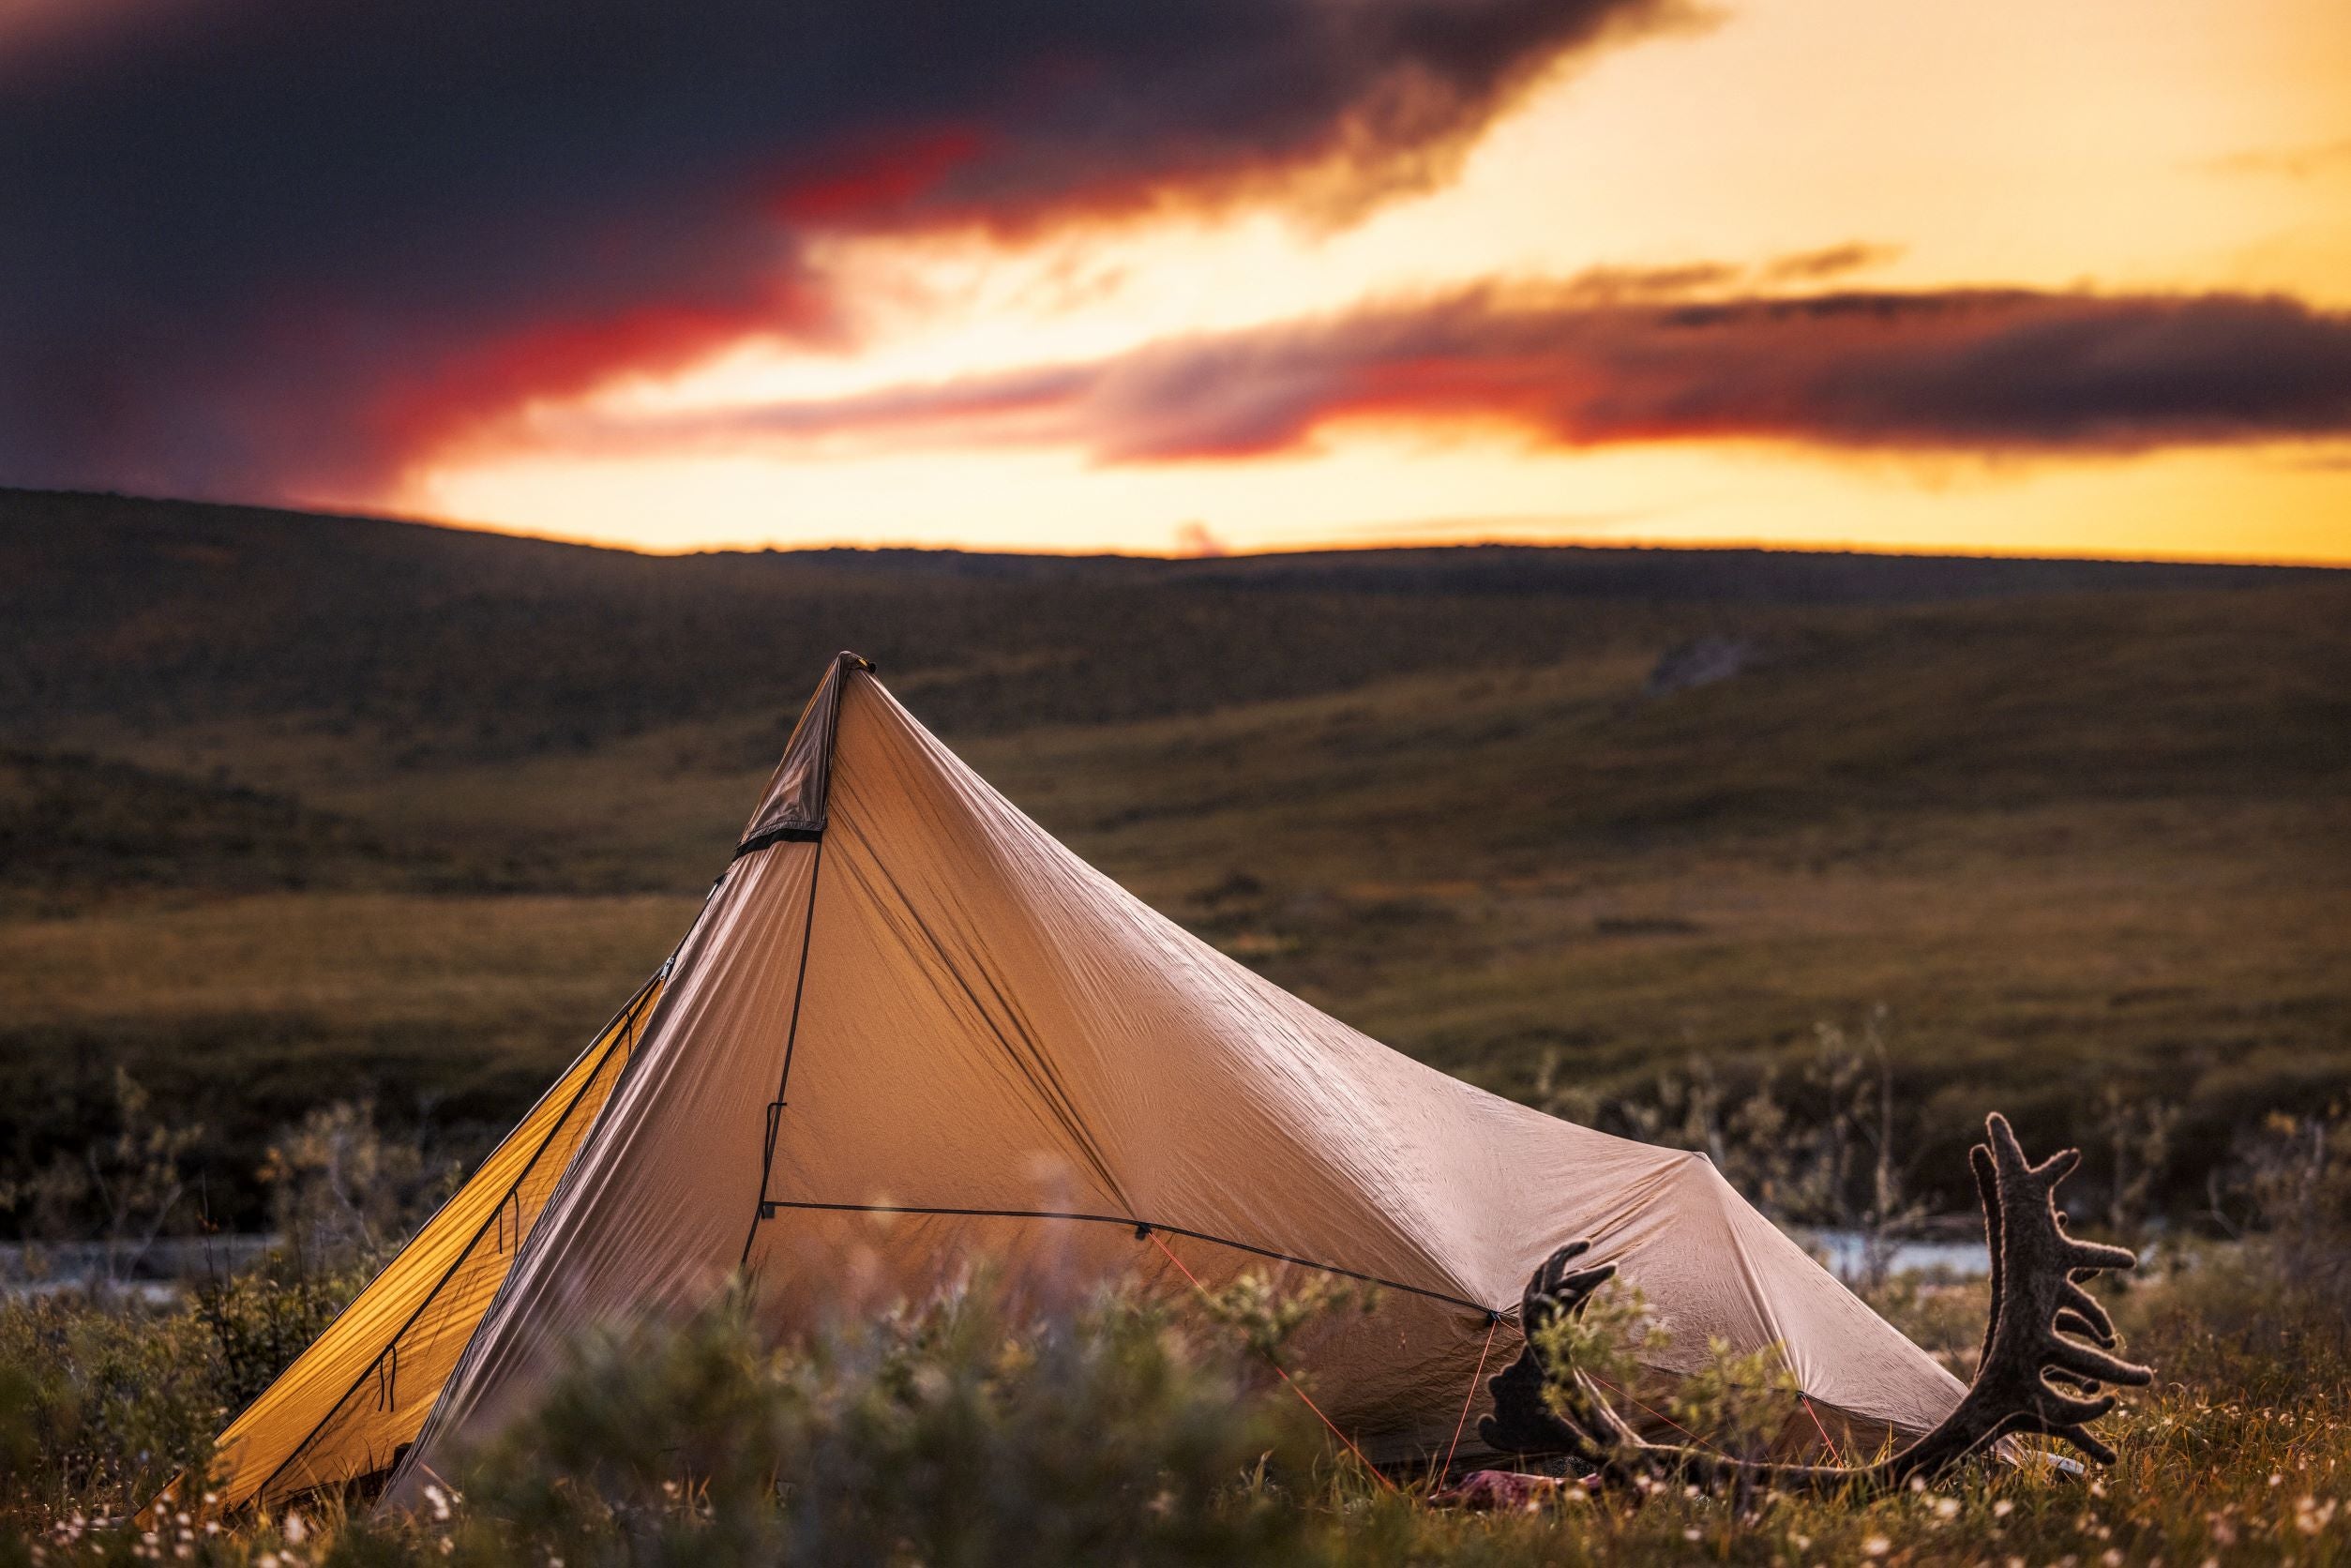
Tarps
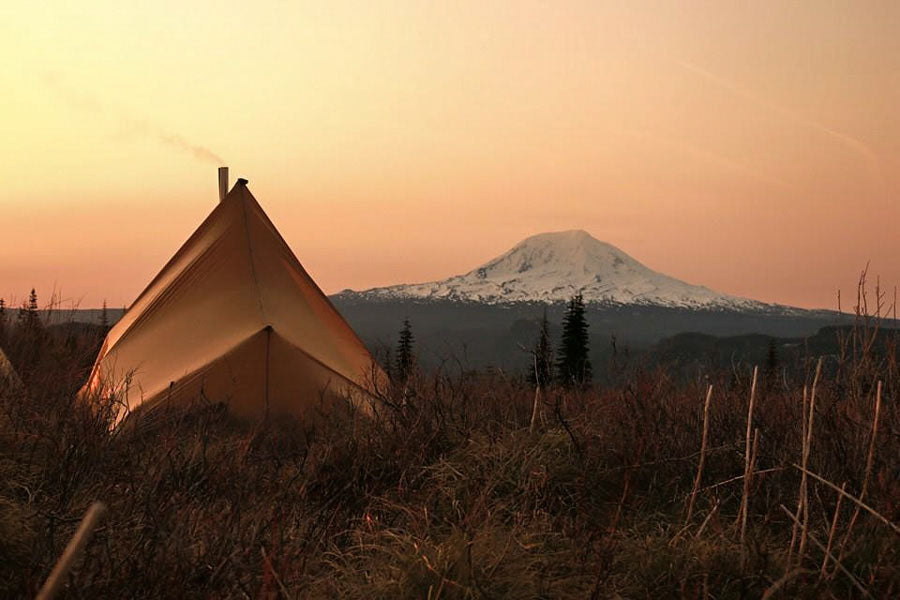
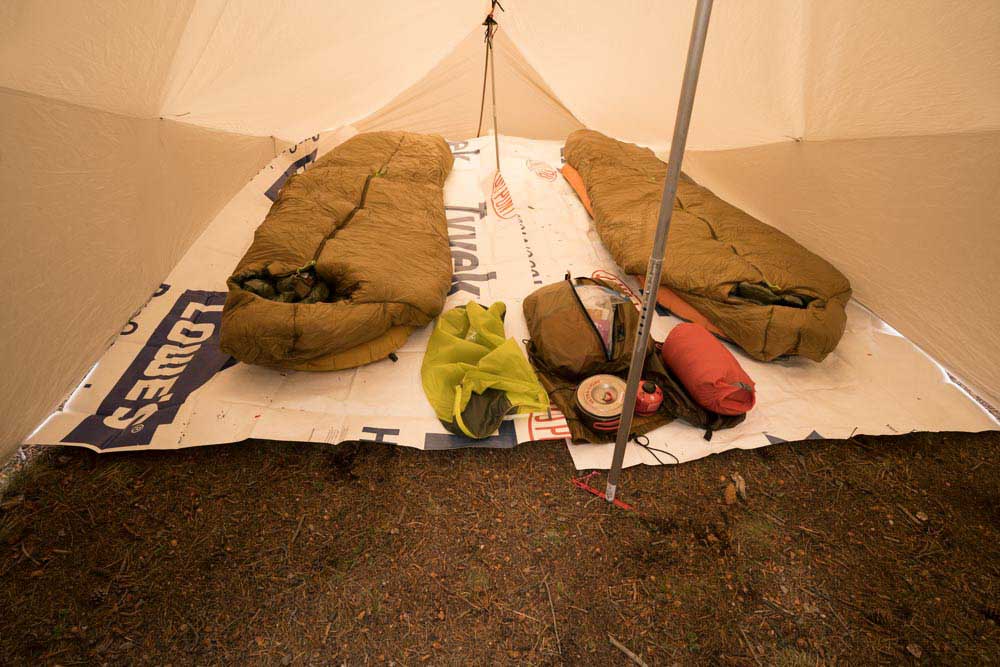
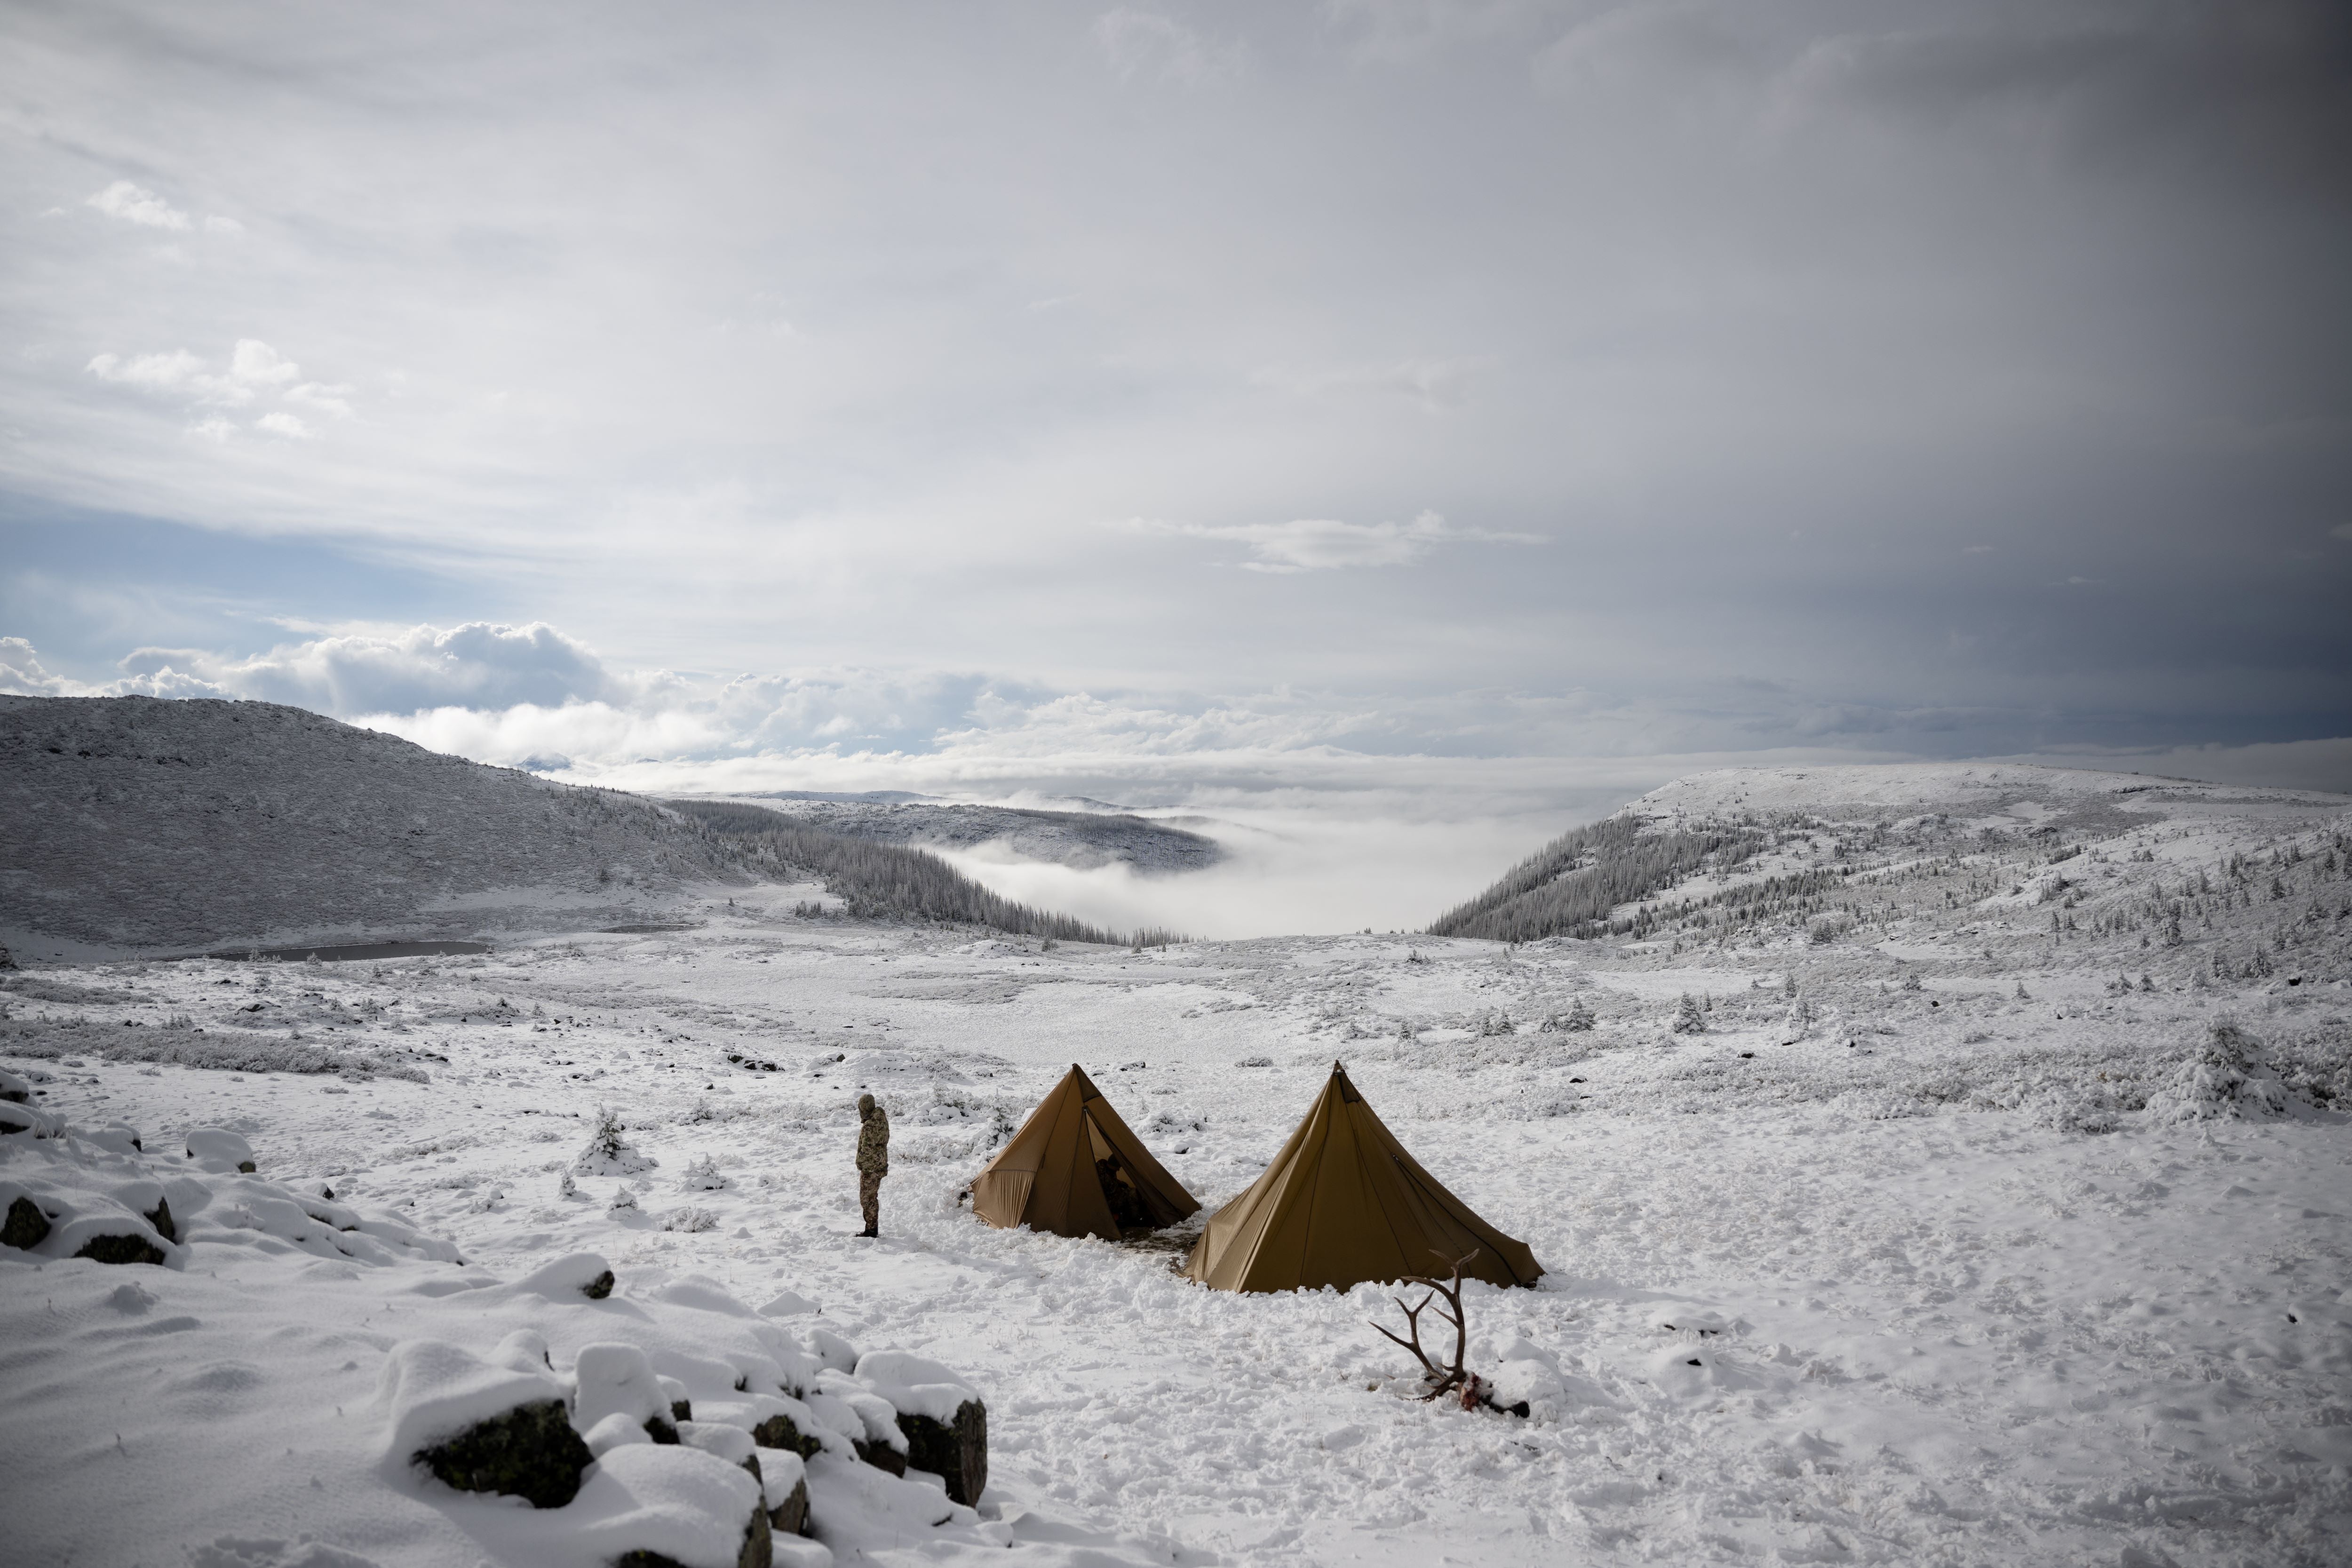
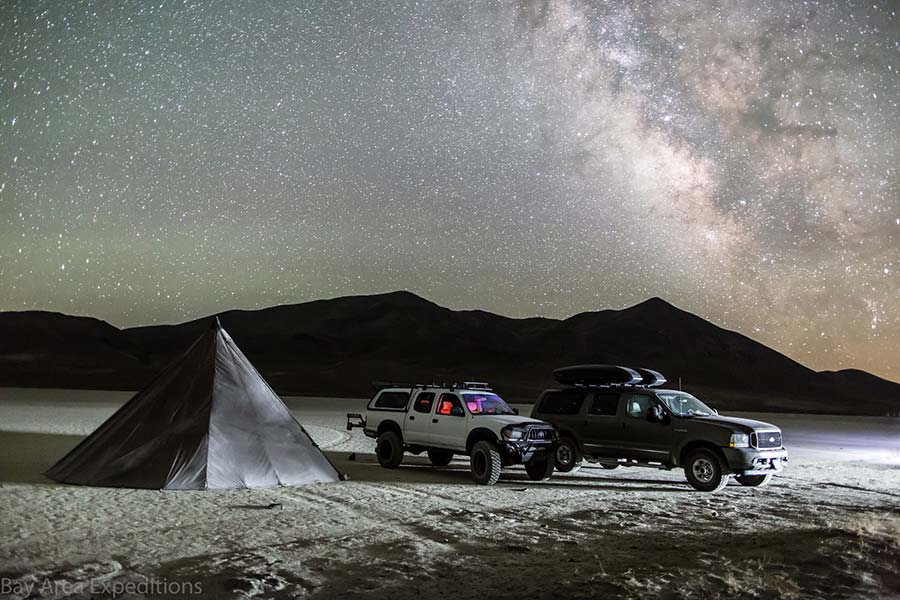
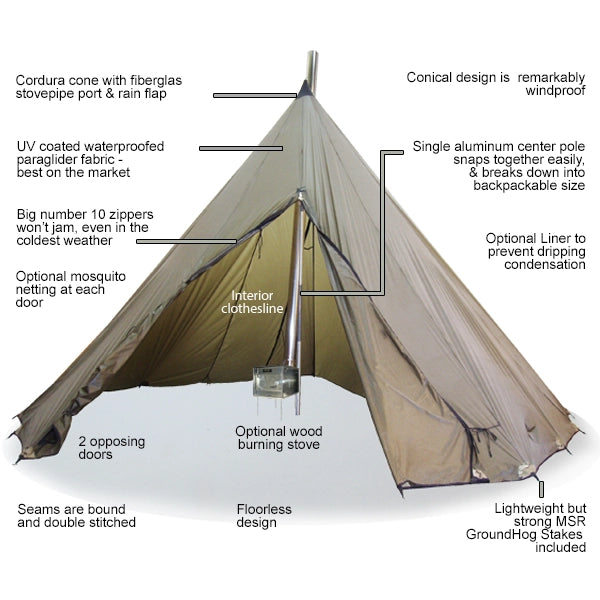
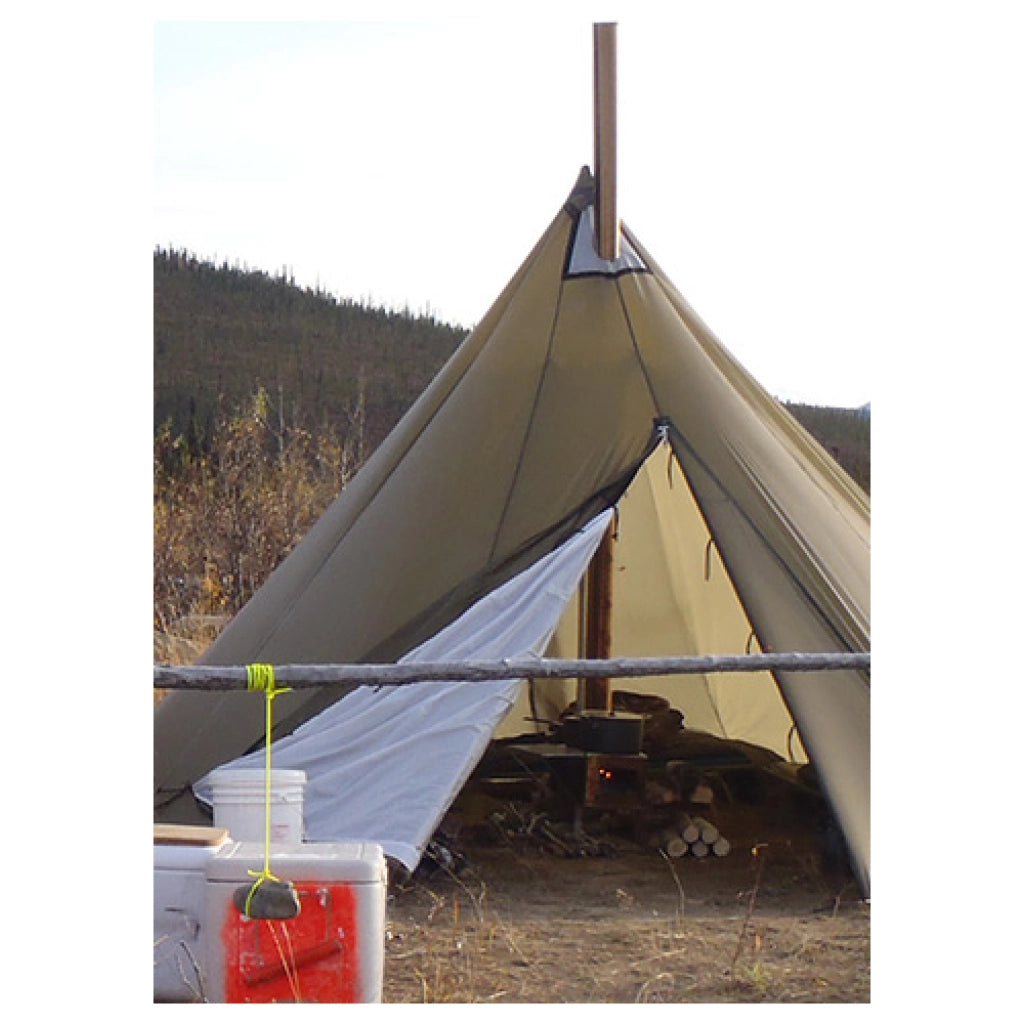
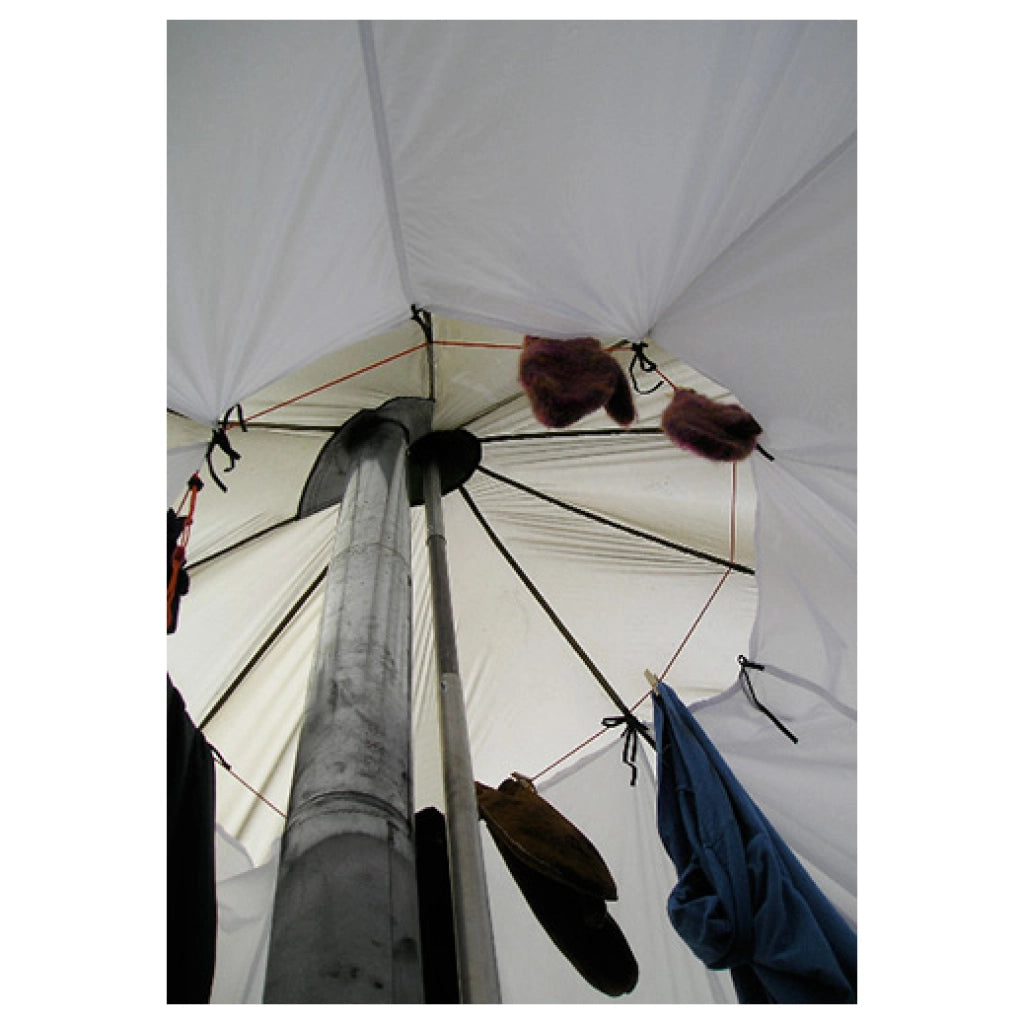
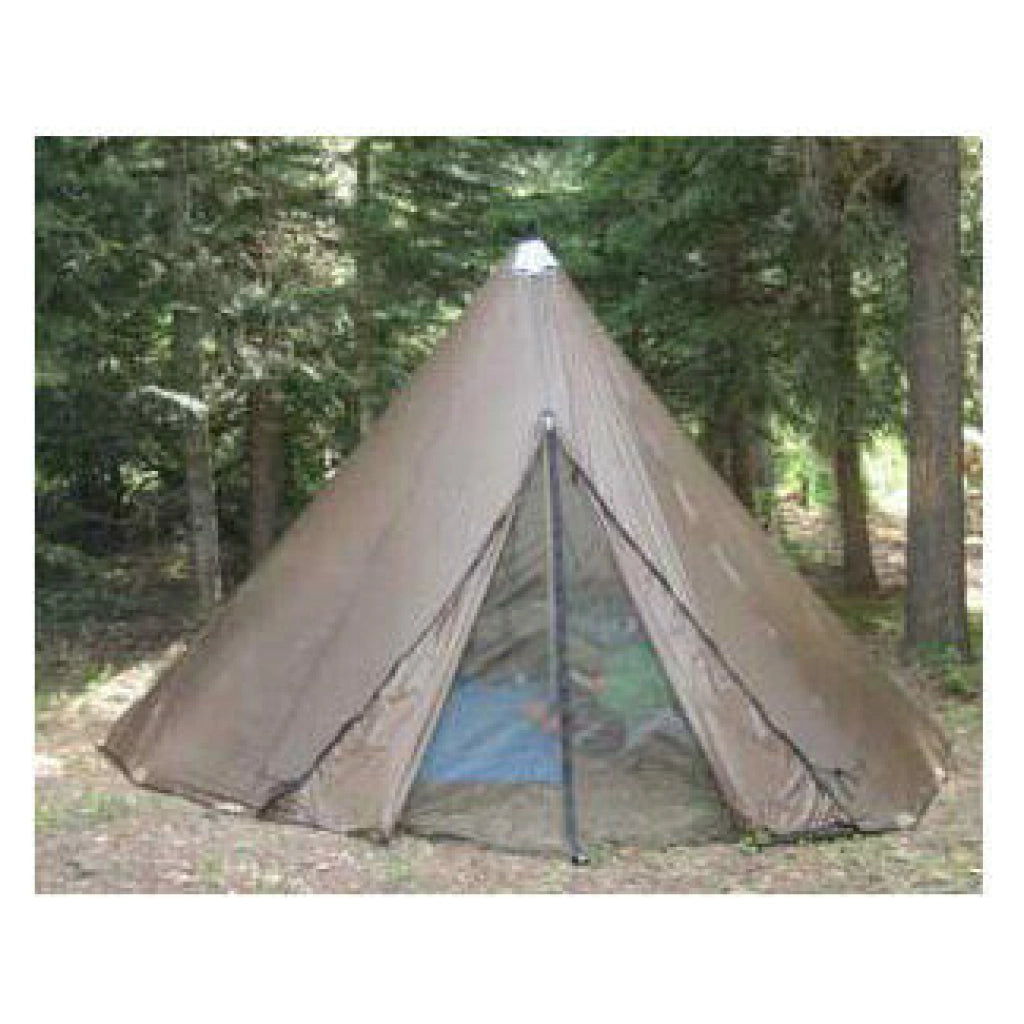
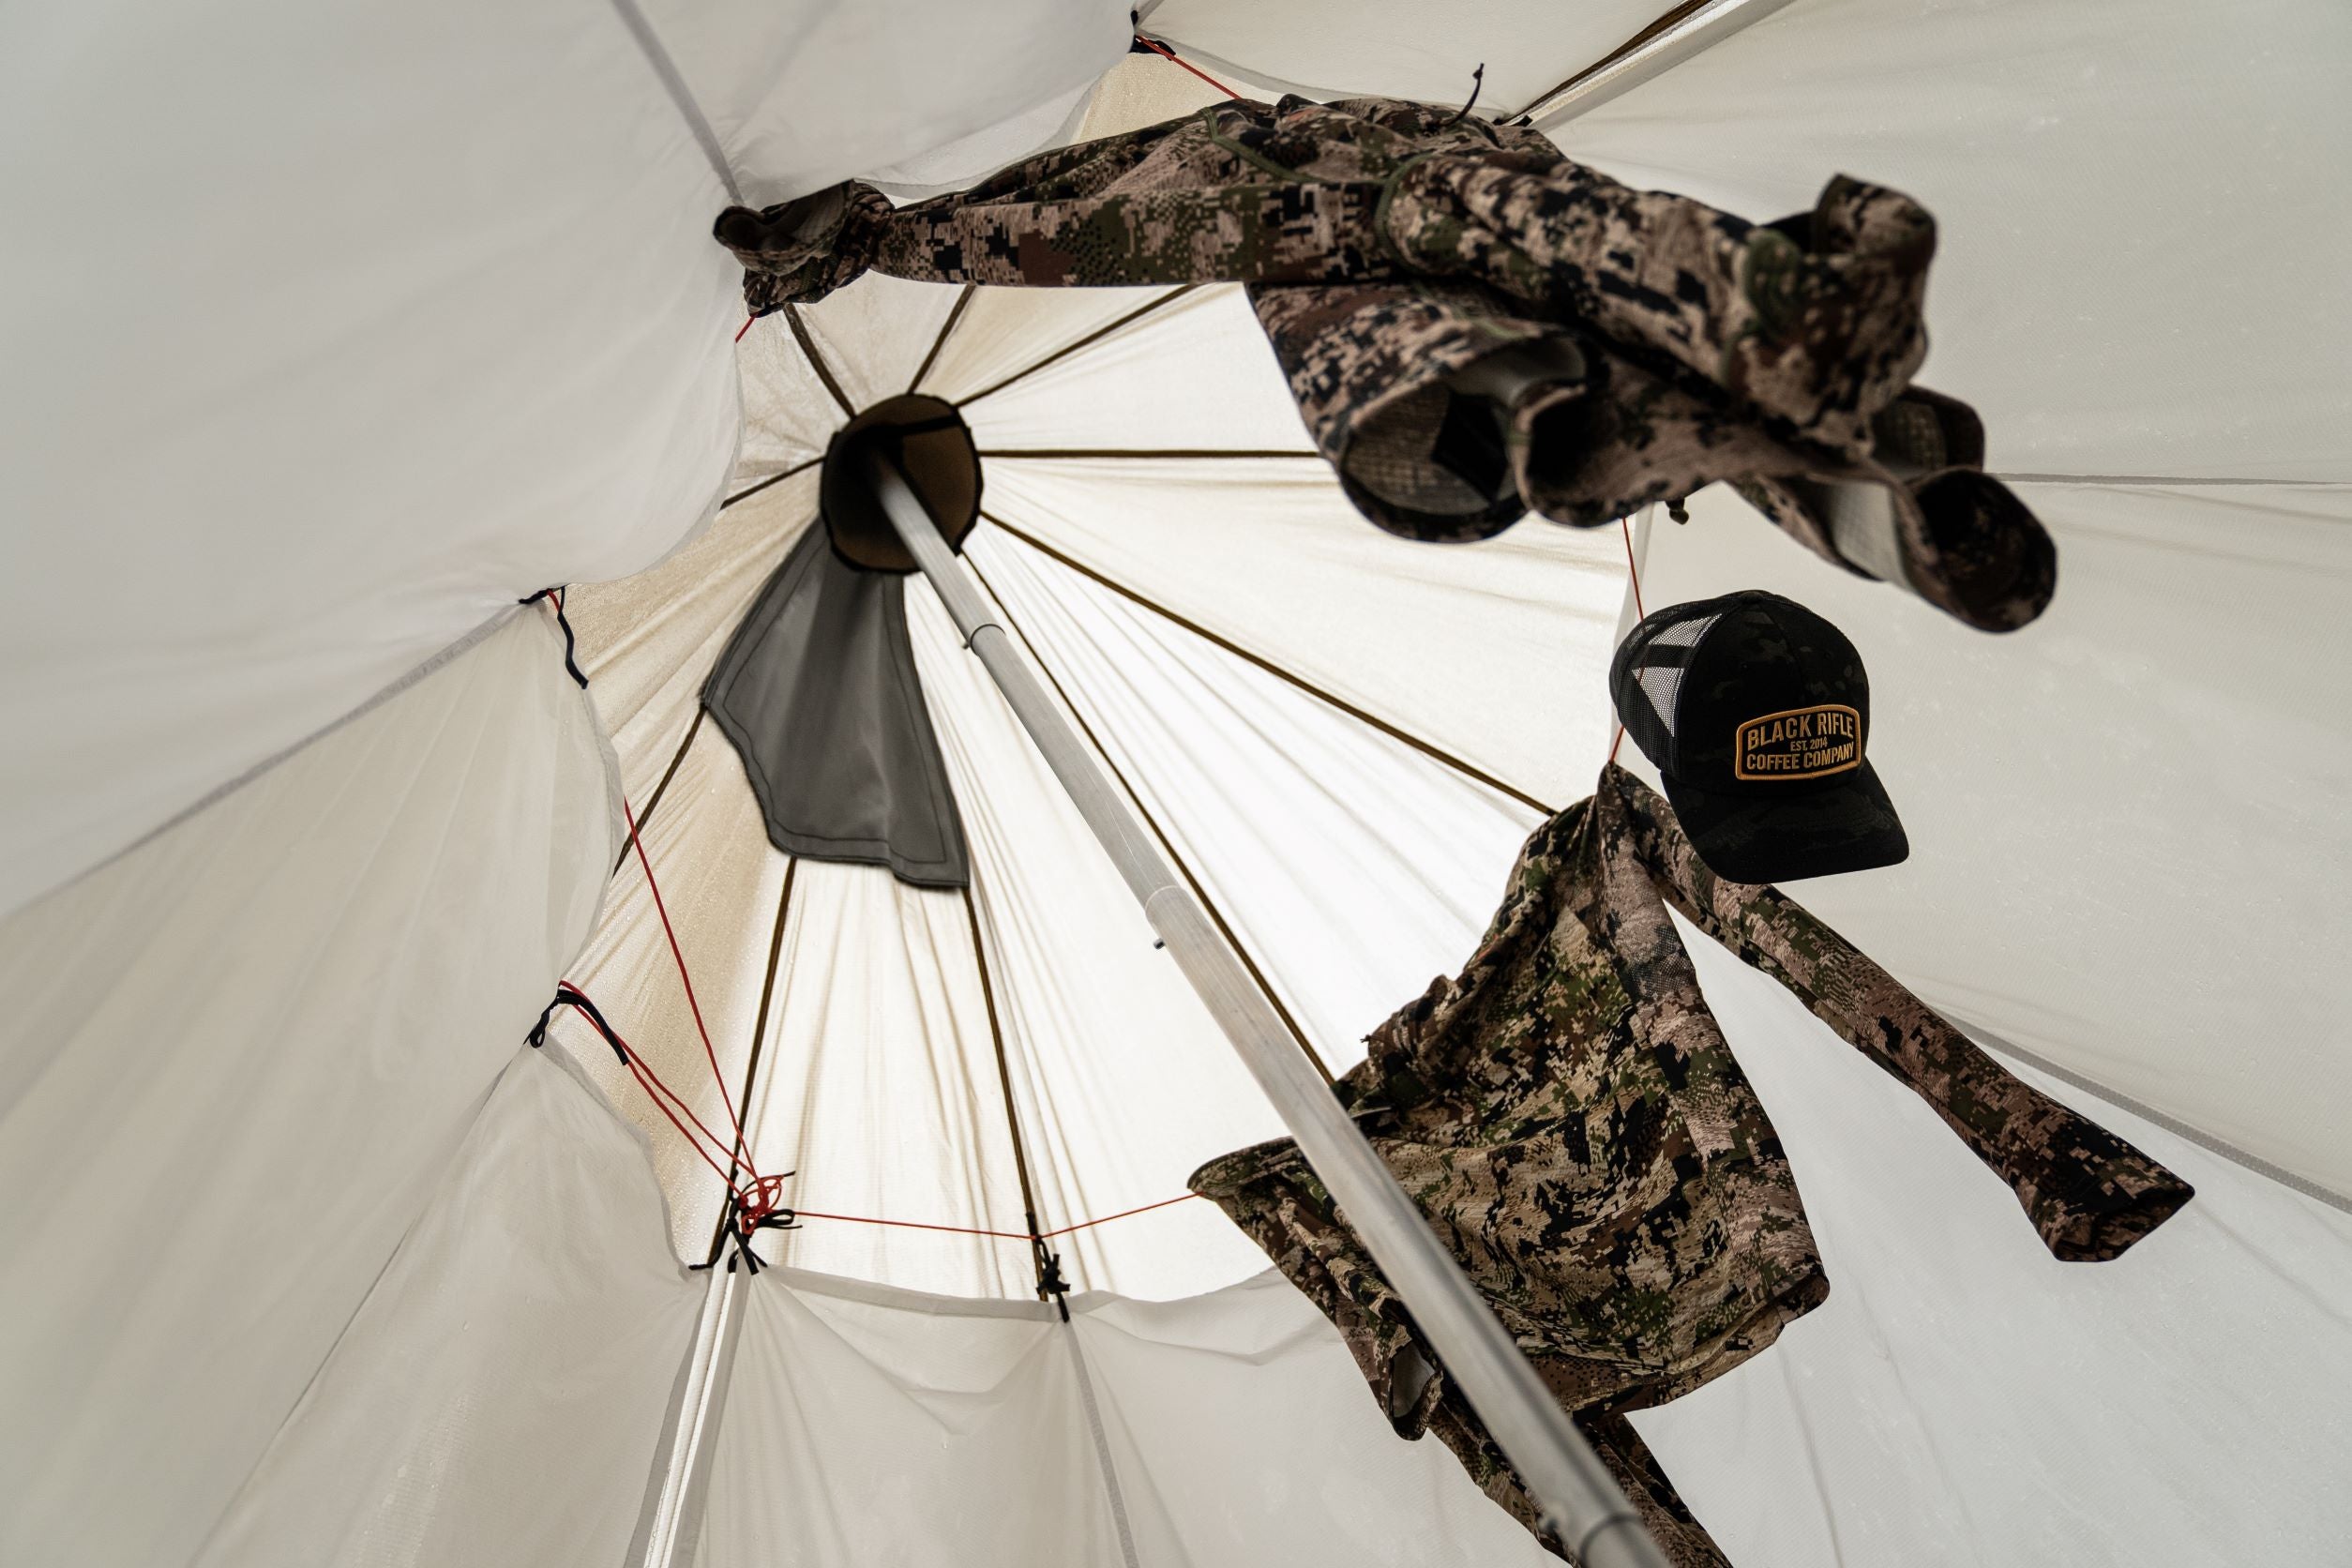
Tents
Stoves
Packs
Gear
Lifestyle
Not sure where to start?Try these collections:
Sheep Tarp
Aegis Tarp
SuperTarp
Sawtooth
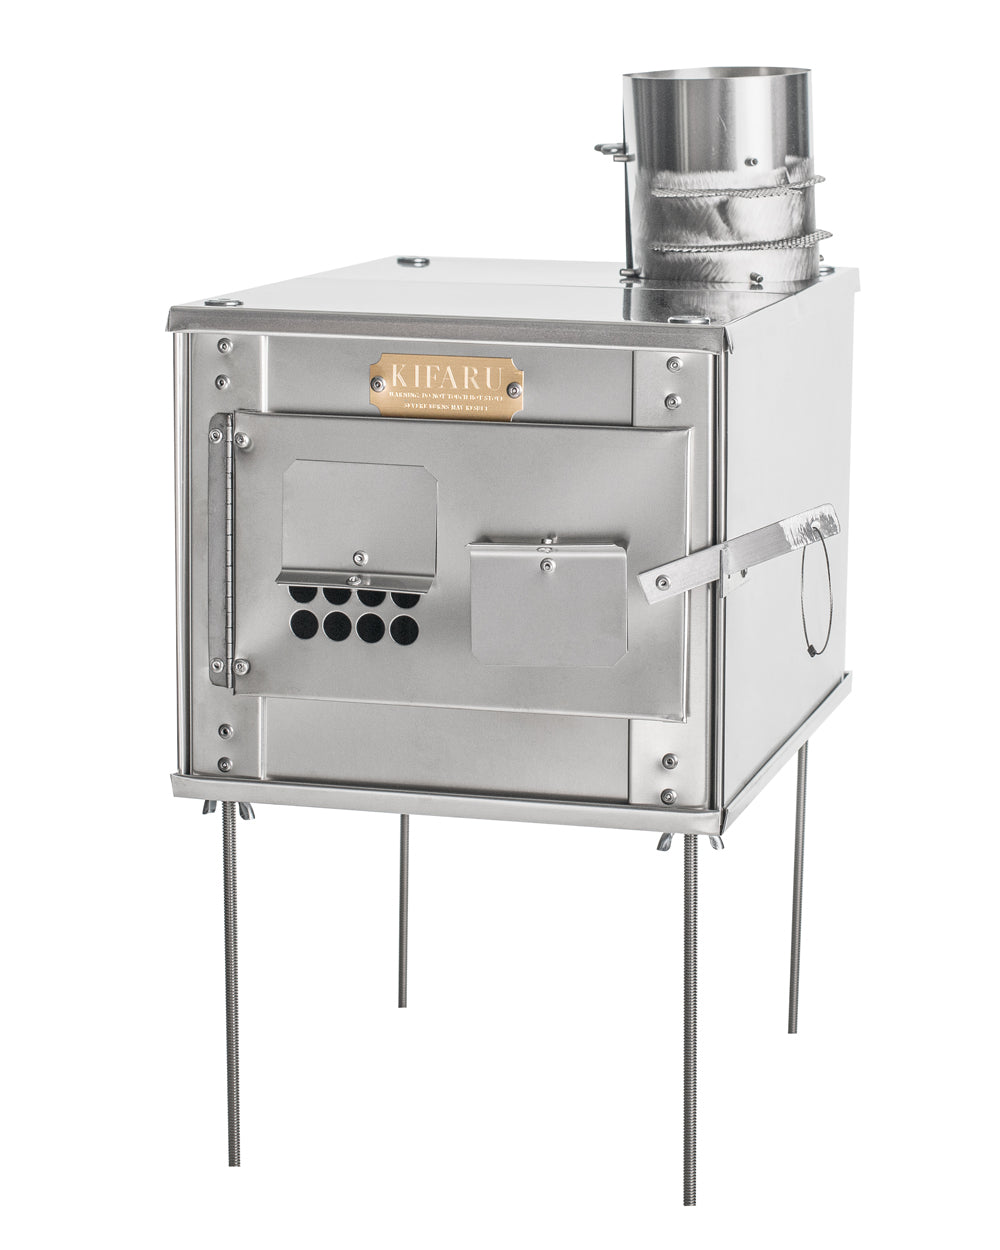
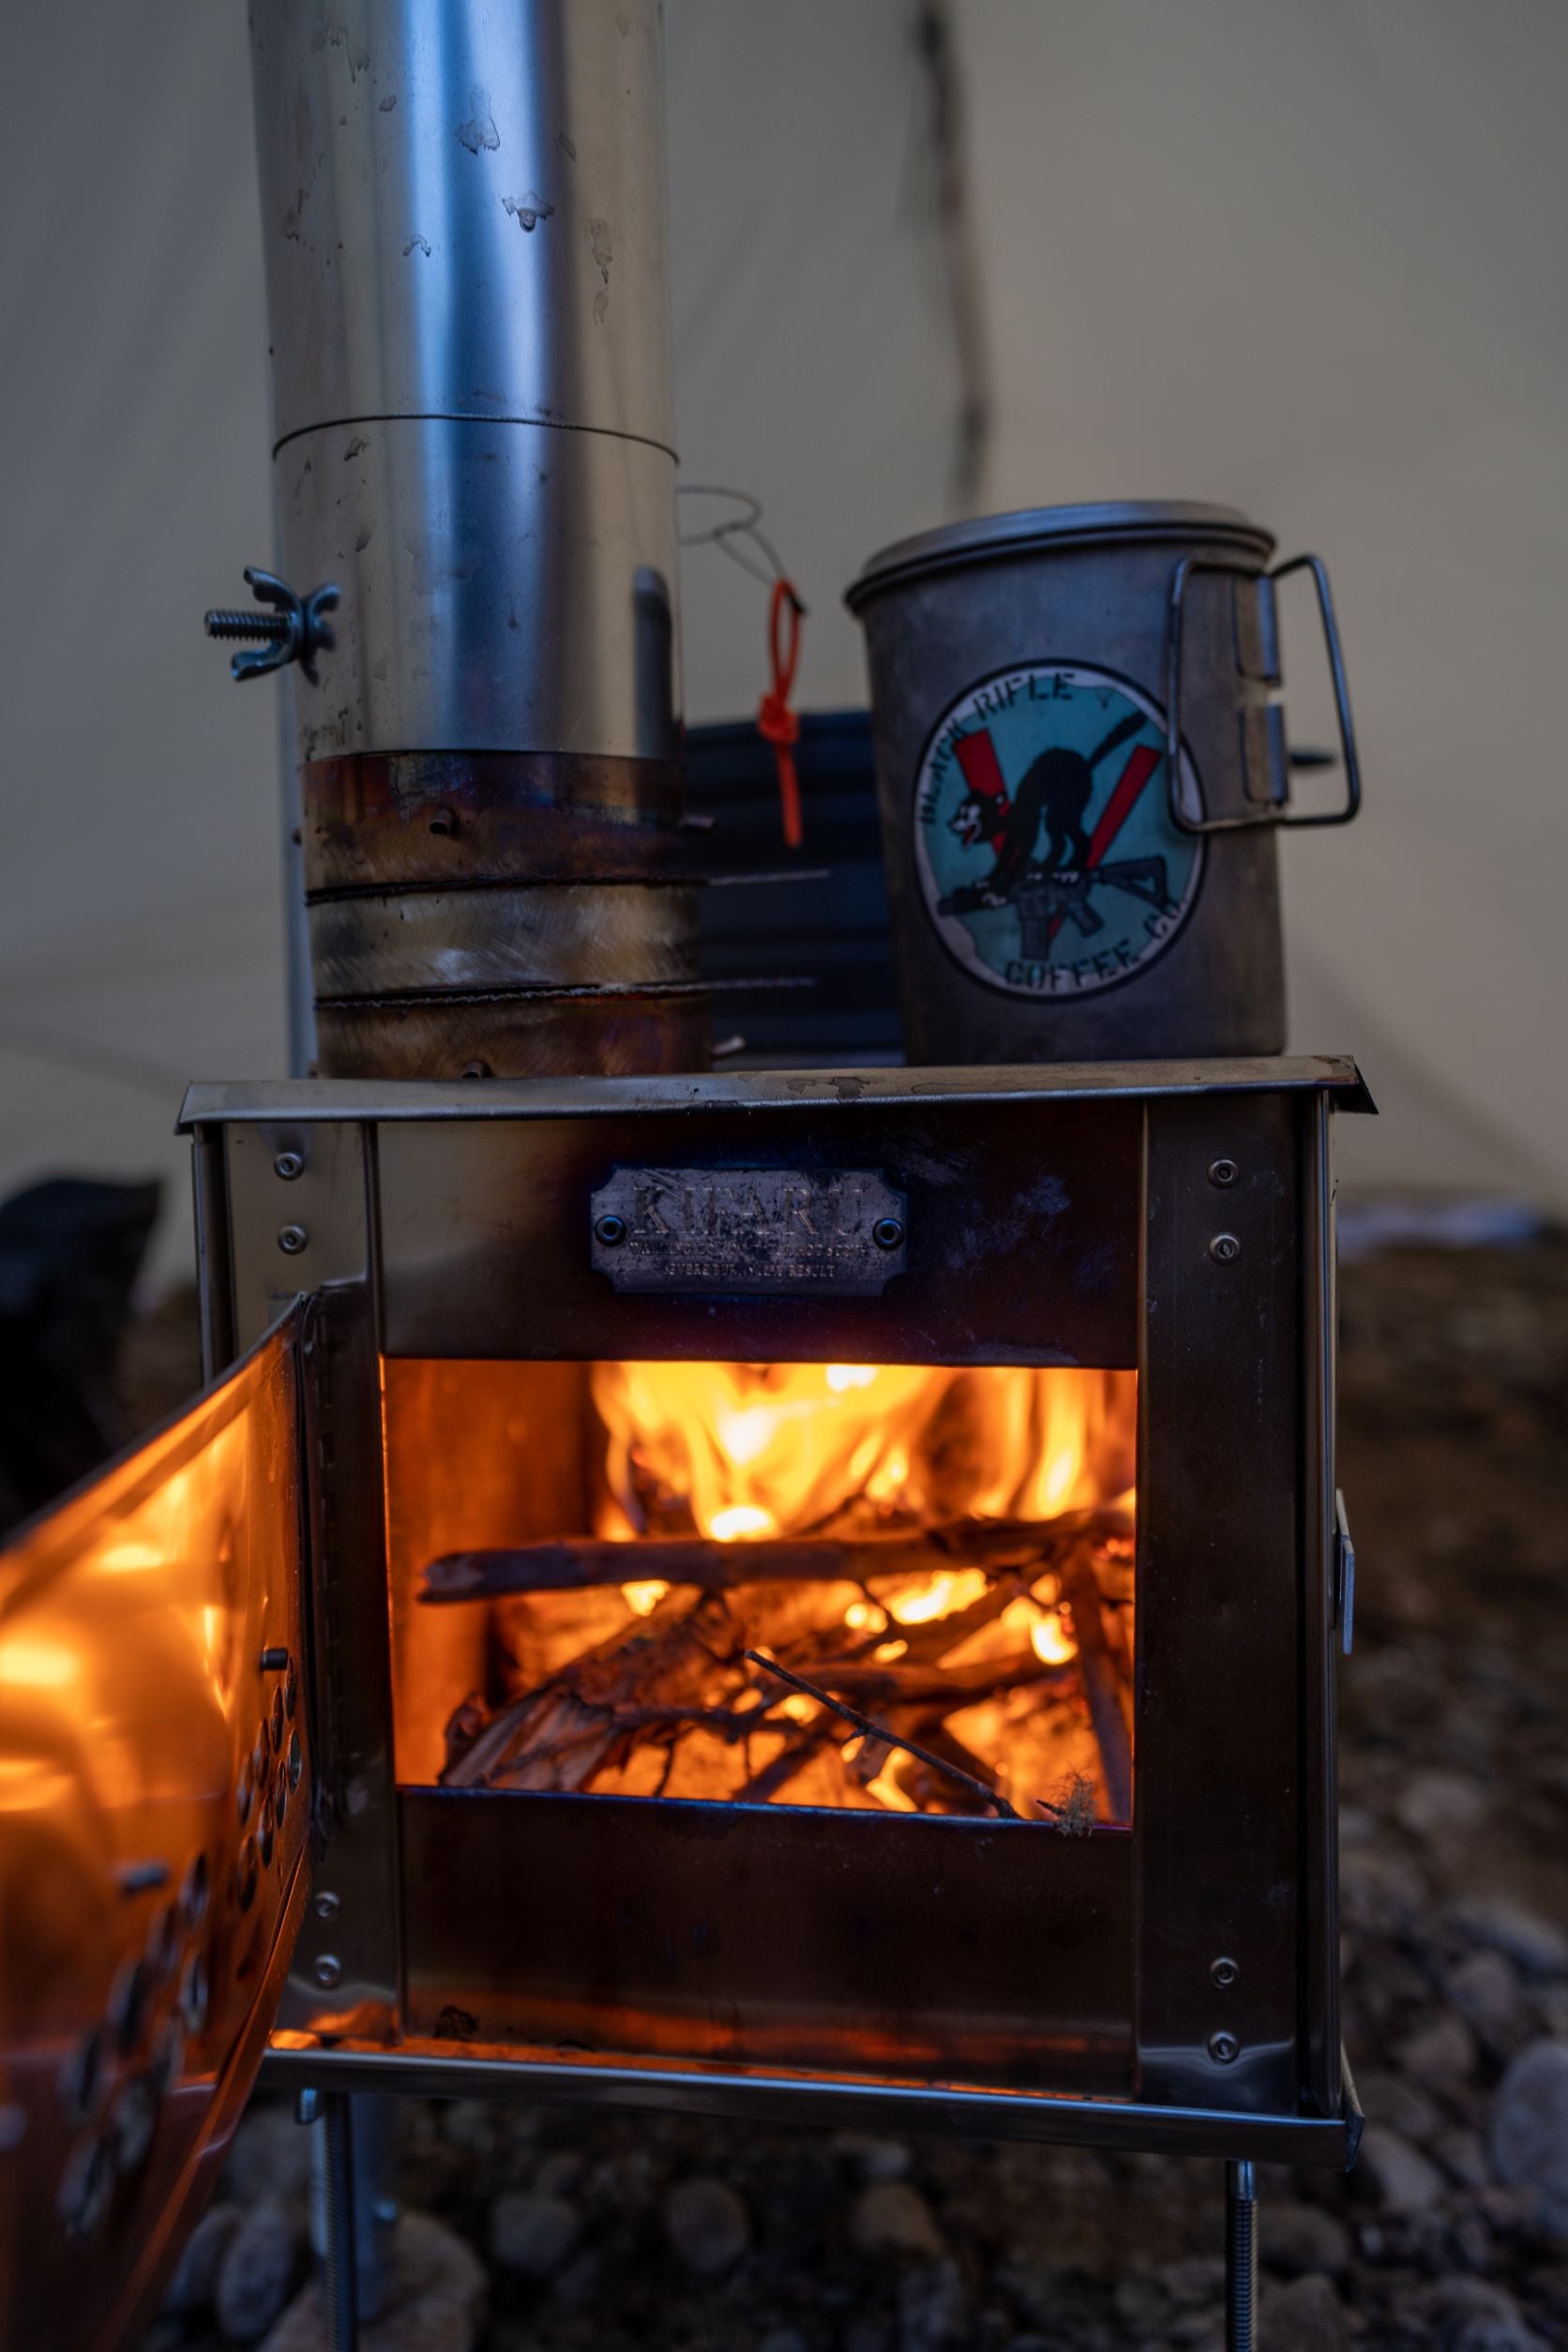
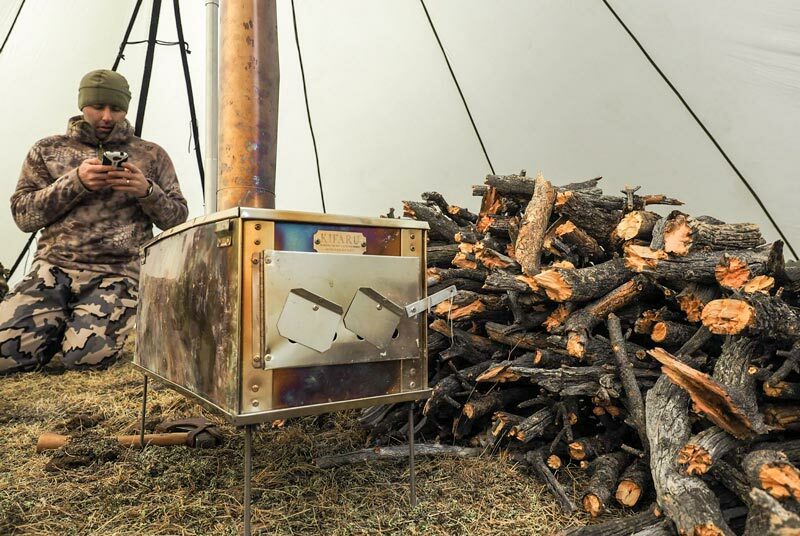
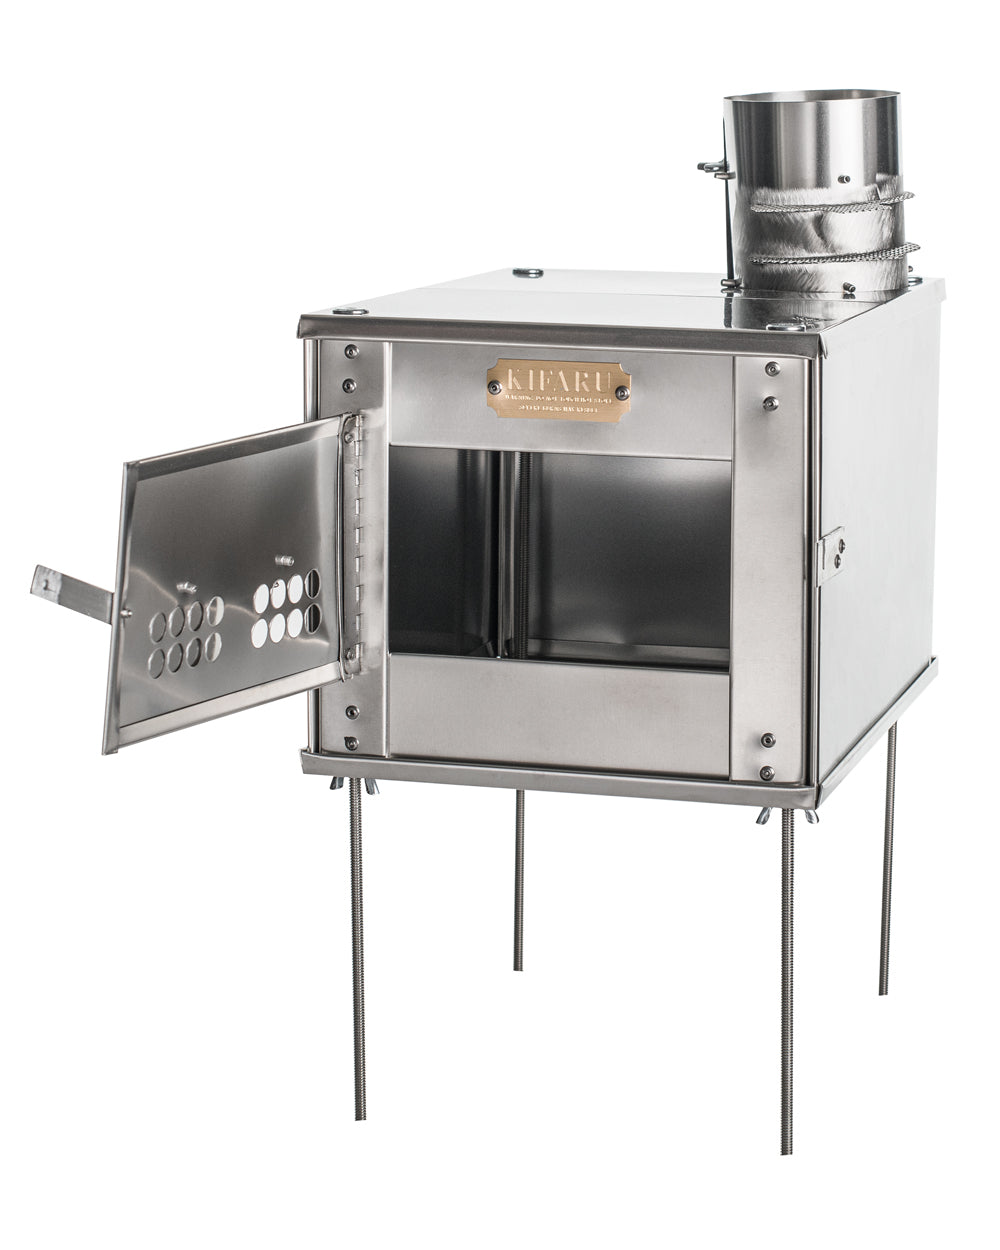
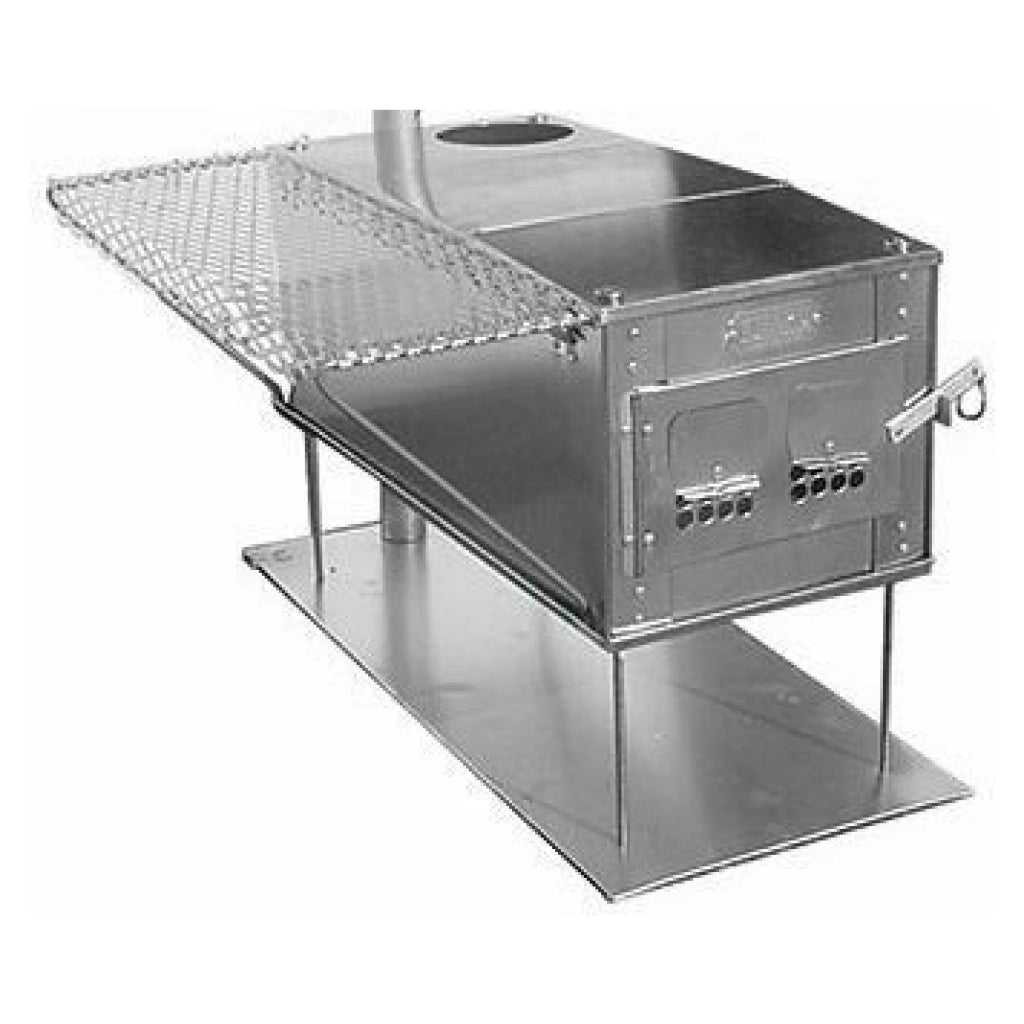
Box Stoves (Stainless Steel)
8 Man Tipi
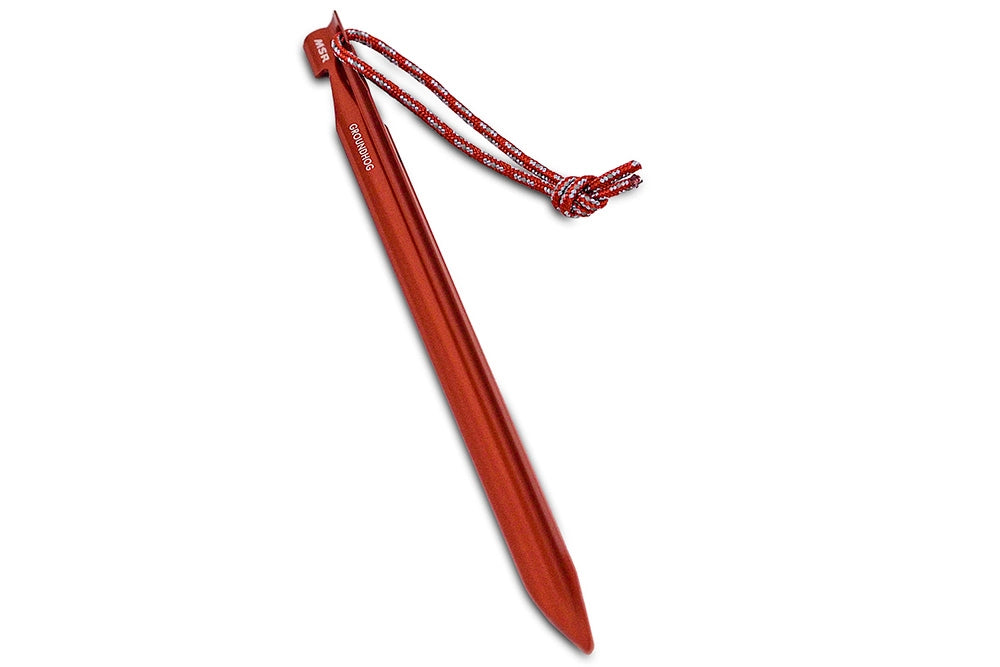
MSR Groundhog
Tenacious Tape Flex Patch
SuperTarp Annex
Shelter Liner
Mosquito Netting
Replacement Shelter Poles
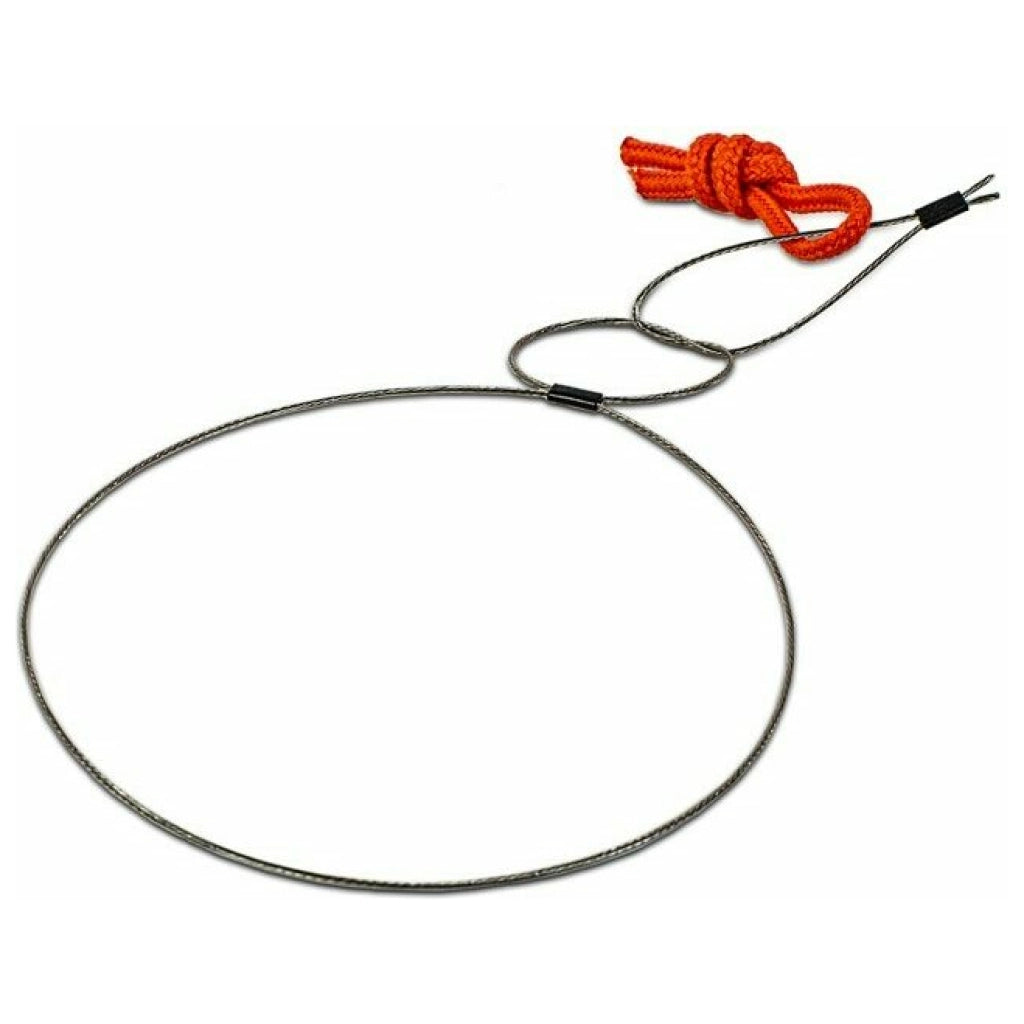
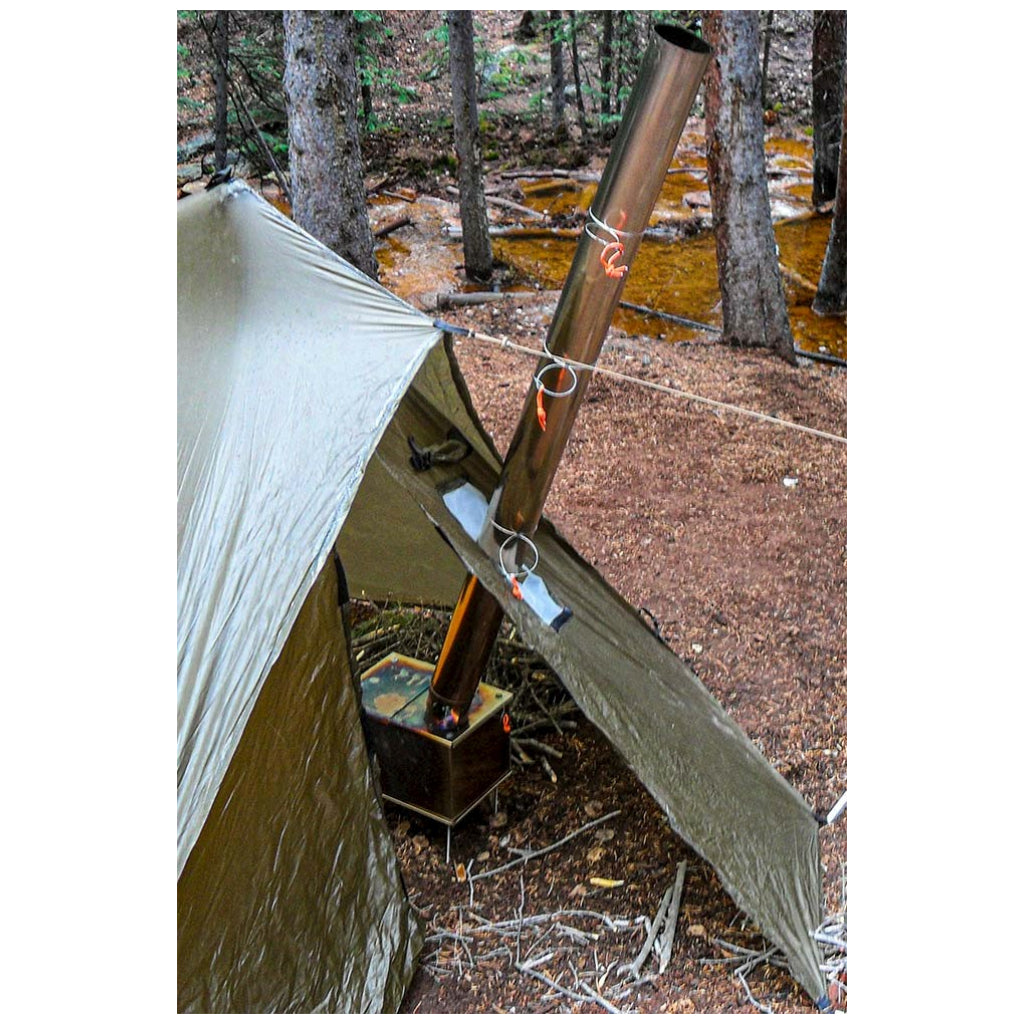
Extra Stove Pipe Rings
Box Stove Snow Platform
JOIN OUR NEWSLETTER
Just enter your email below to join the Kifaru newsletter. Check your inbox for deals and updates on new products!
Customer service
Call (307) 370-7981 or email hello@kifaru.net
Free Shipping On First Order
Get free shipping on your first order by subscribing to our email newsletter and opting in to SMS alerts (contiguous US only + 150 USD minimum).
100% AMERICAN LABOR
Kifaru products are proudly sewn in Colorado and Wyoming.
Secure payment
Your payment information is processed safely and securely. If you have concerns about security please contact customer service.